This chapter introduces the basic elements of job design via the creation of two basic jobs and printing a job:
| 1. | Use by date printed by a Continuous Ink Jet device to explore text and date fields. |
| 2. | Secondary packaging job printed by a Large Character printer on a carton which introduces Lot Codes and Barcodes. |
It is recommended to work through these examples in sequence to build a sound understanding of core Design functionality.
Basic Job Containing Use-By Date
This job contains static text and a date field displaying a use-by date. The operator is prompted to enter the use-by date when the job is selected. Date functions is covered in more detail in Date Calculations.
Define Target Printer
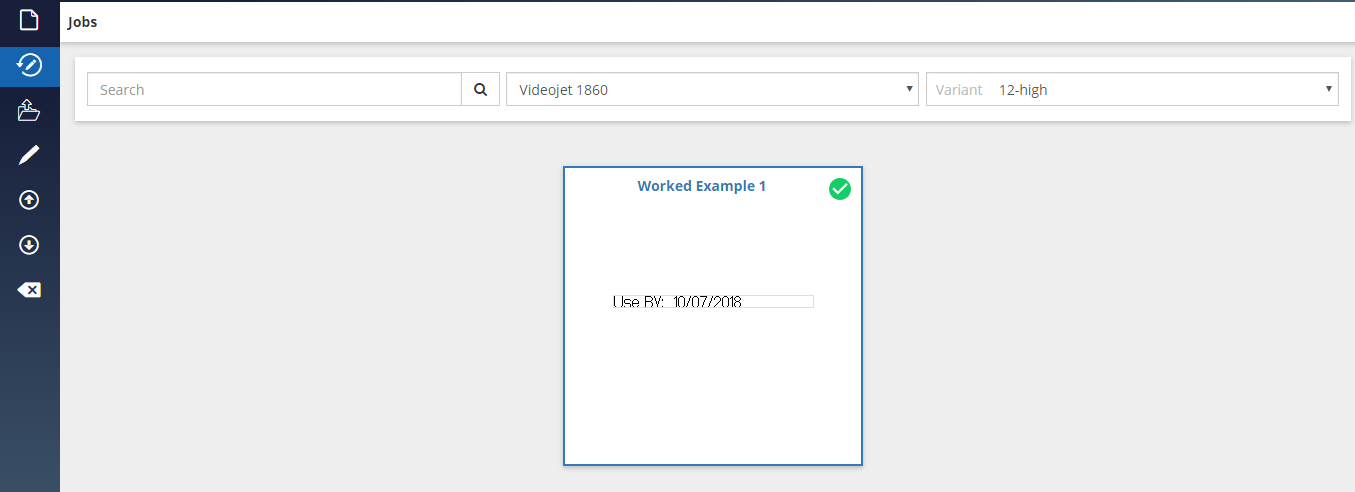
| 1. | Go to Jobs menu. Select a printer model and variant (see the figure). |
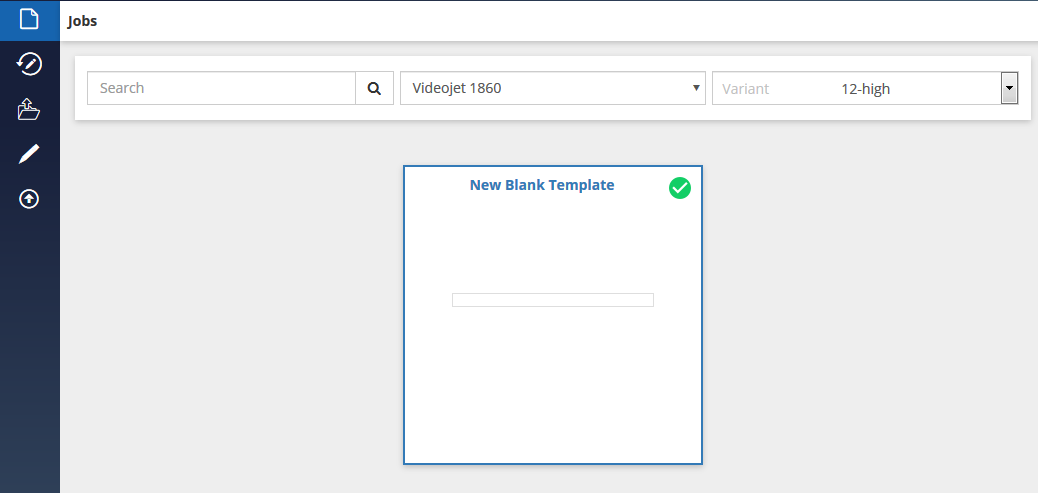
| 2. | For this example, create using a Videojet 1860 Continuous Ink Jet. Select Videojet 1860 under CIJ from the Printer Model drop down list. |
| 3. | From the Variant drop down list, select 12-high. This tells Design that the job to be printed as 12 dots / drops high and it sets the image design area to the corresponding height. |
| 4. | Select the New Blank Template from the job list and click Edit. The following screen is displayed. Enter the job name Worked Example 1. |
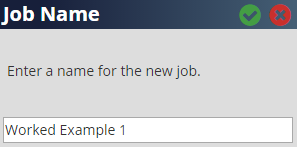
| 5. | Click ✓ to close the window and start editing the job. Design sets the image design area based on printer selections set on the previous screen. |

Create a Static Text Field
| 6. | Click + on the toolbar from the job editor page (see the figure). |
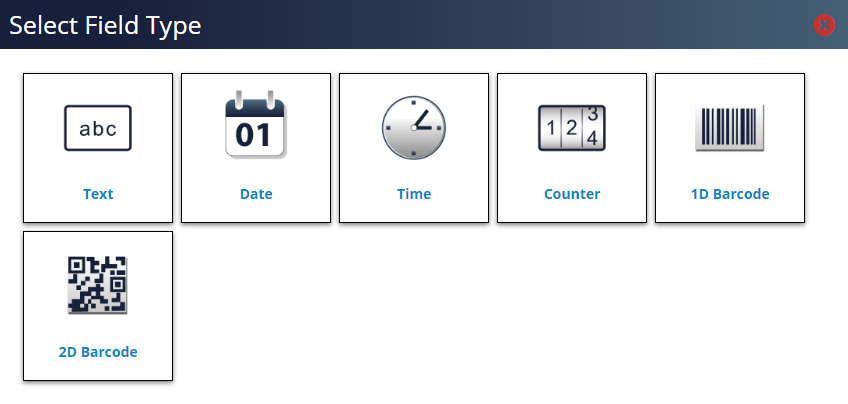
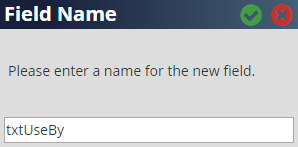
| 7. | Click on the Text tool in the toolbox. The following screen is displayed. Define this field a unique, meaningful name. Whilst Design assigns each field in a job a unique name it is good practice to assign meaningful ‘friendly’ names. In the text box enter ‘txtUseBy’. |
| 8. | Click ✓ to close the window and Design automatically places a text box on the image design area and displays the Text Properties tab: |

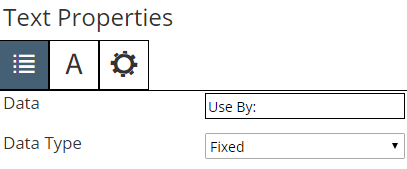
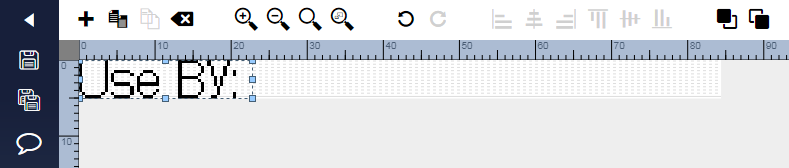
| 9. | Enter the text ‘Use By: ’ in the Data field. Ensure there is a space at the end of the text. Press Enter from the keyboard or Tab or select the job area. The field updates as follows with the image design area and the text properties: |
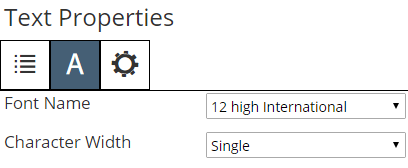
| 10. | In this step, increase the size of the font to match the height of the image design area (as defined in Step 3 above). Click on the Font tab and change the font size to 12 High International by selecting this option from the drop down list below the text ‘Font Name’. |
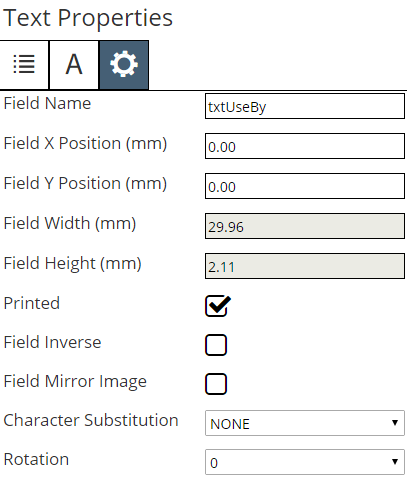
| 11. | Click on the General tab to confirm that the Field Name box shows ‘txtUseBy’. |
| 12. | The image design area should look like the following image. |
Create a User-Entered Date Field
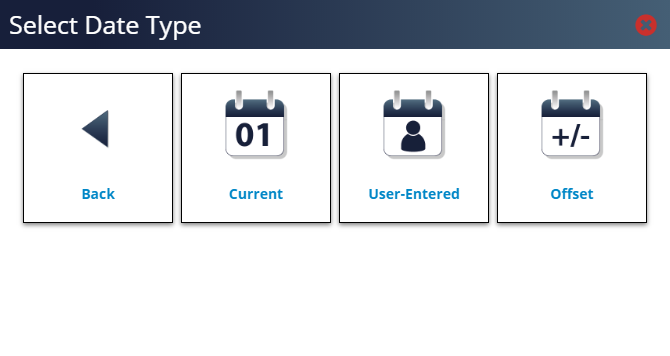
| 13. | Click on the Date tool in the toolbox. For this job, we want the operator to enter the ‘Use-By date’ whenever the job is printed. To do this, select the option User-Entered from the ‘Select Date Type’ window. |
| 14. | The User-Entered Date Properties dialog appears. Enter a prompt message that is to be displayed when the operator selects the job (Please Enter the Date in this example) and select the Prompt Value ‘Blank’. Click ✓. |

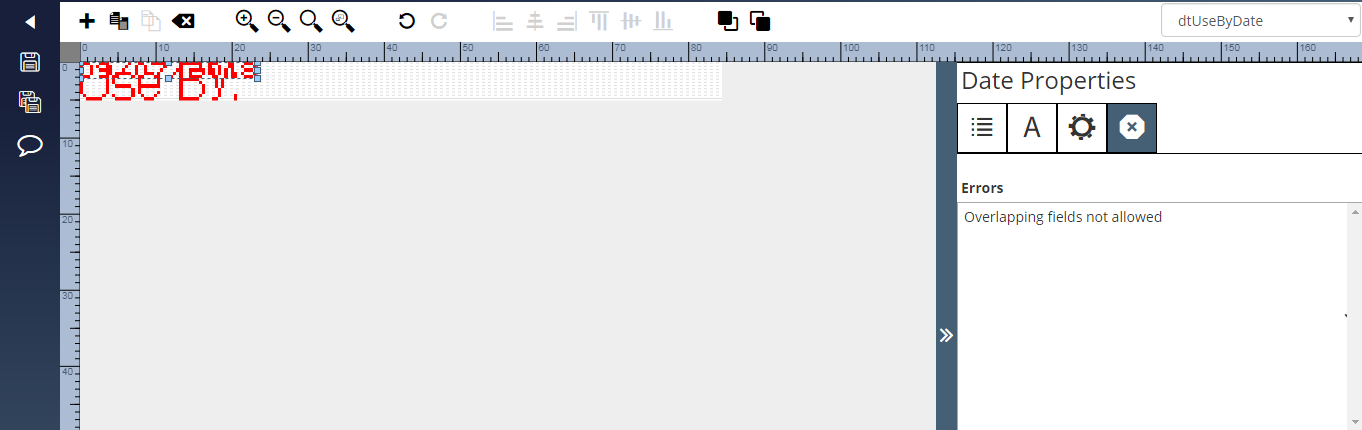
| 15. | Give this field a friendly Field Name of ‘dtUseByDate’ and click ✓. The date field will overlap the original field and the system will show an error and the reason. The Design should look as follows: |
| 16. | Move the field to the required location by selecting and dragging it within the image design area. |
| 17. | Within the Date Properties window, set the Font size to be 12 High International on the Font tab. |
| 18. | Now the Design should look as follows: |

Saving the Job File to Disk
| 19. | Click Save to save the job to the application. Click Back on the toolbar to confirm that the job Worked example 1 is added to the job list under printer model Videojet 1860 and variant 12-high. |
Refer to Offline Printing for information on additional download/printing options.
Basic Job for Secondary Packaging
This example describes the steps required to build a typical carton / secondary packaging job and introduces new tools / fields: Lot Codes and Barcodes. It also introduce the object alignment tool.
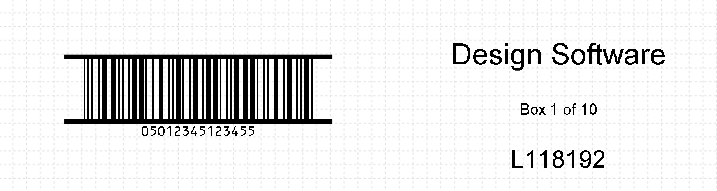
An example of the completed image:
Define Target Printer
| 1. | Start a new job in Design and select printer model Videojet 236x and variant 500. The Videojet 236x is a Large Character Marking (LCM) printer ideally suited for printing directly onto shipping cartons. |
| 2. | Select the New Blank Template from the job list and click Edit. Enter the job name Basic Secondary with ITF and start editing the job. |
| 3. | From the template properties window, set the image width to 260mm and leave the height at 70.52mm (the maximum print height for the Videojet 236x print head). |

Inserting a Barcode
Design offers a wide range of industry standard primary and secondary packaging barcodes which is printed by printers with in-built support for the selected barcode. If the printer does not support a specific barcode it is not possible to add that barcode to the job.
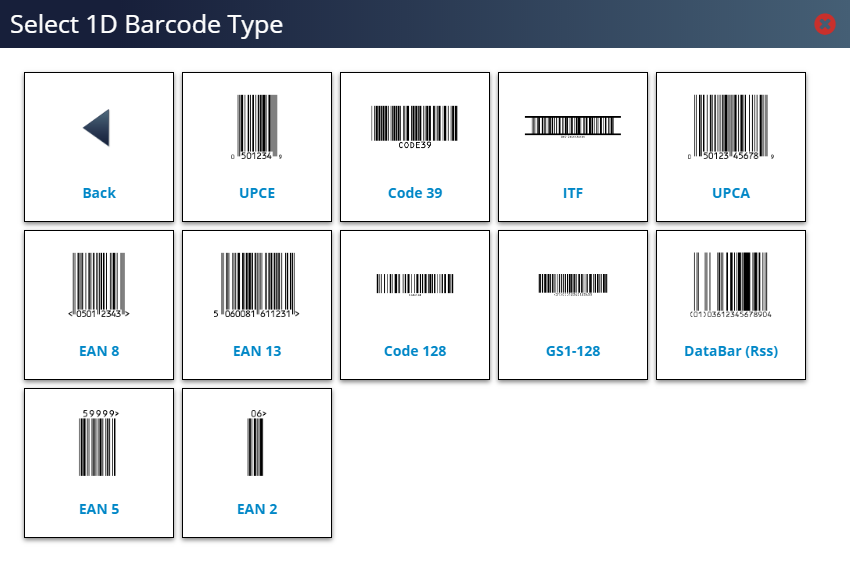
| 4. | For this example include an ITF barcode; a 14 digit Global Trade Item Number (GTIN) commonly used on secondary packaging. Click on 1D Barcode in the Toolbox and then click on ITF. |
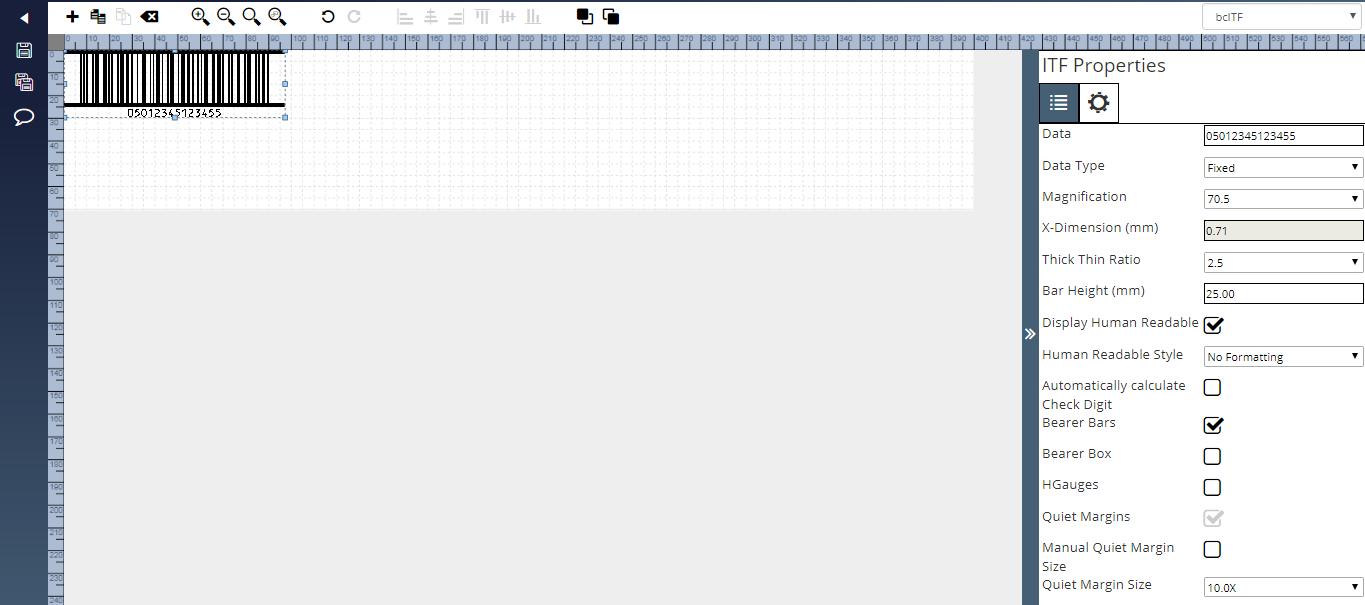
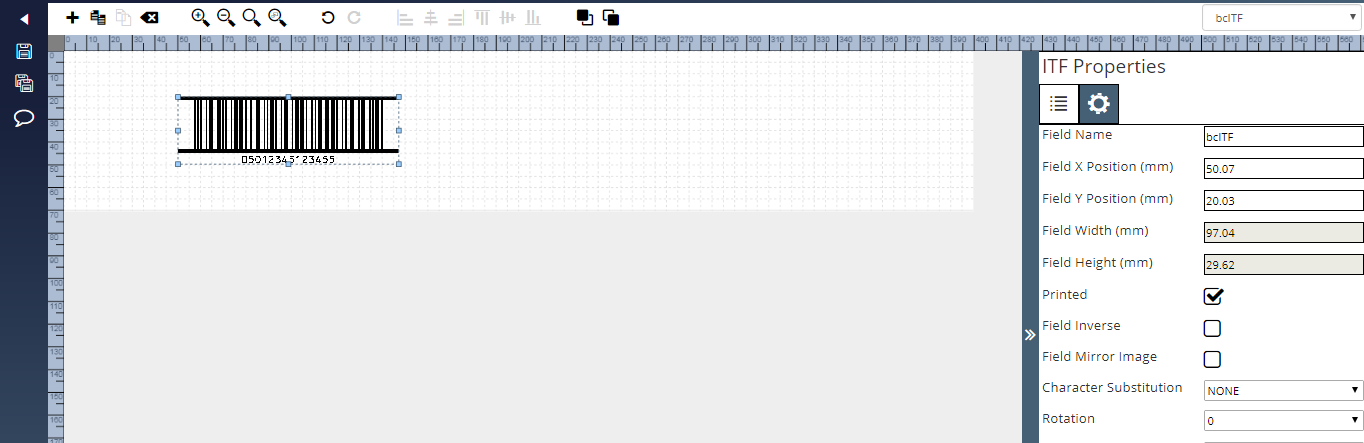
| 5. | Enter the field name ‘bcITF’ in the window and click X to close the window. The ITF barcode is added to the image design area and display the ITF Properties window. Design places a default value in the Data field. Enter a 14 digit numeric value in this field (Design allow longer or shorter lengths but there must always be an even number of digits). |
| 6. | For this example move the barcode to 50, 20 using the coordinates in the ITF properties General tab. |
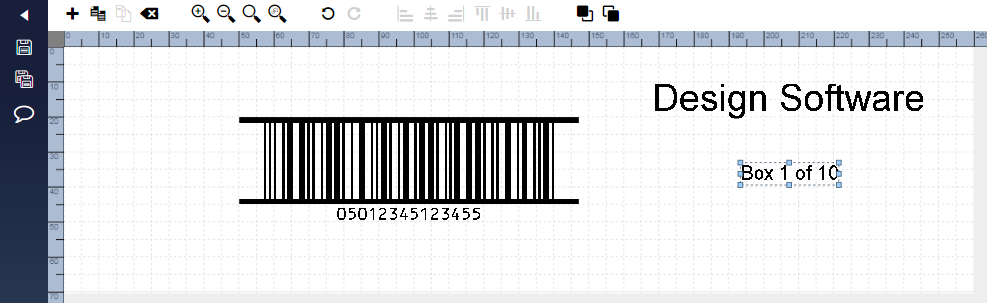
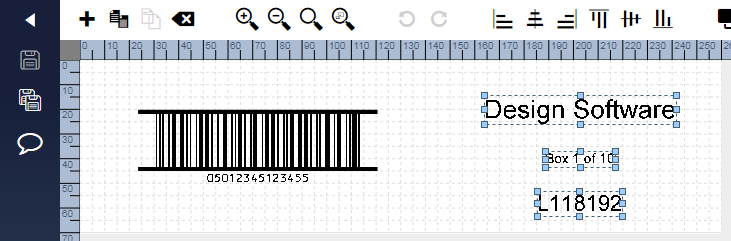
Adding Text Fields
| 7. | Add two text fields above the ITF barcode. The upper most text field should have the default text of Design Software in Arial 30 point (fonts are changed via the Font tab on the field properties window) and the lower text field should state Box 1 of 10 in Arial 16 point. The image should look something like the following screen shot. |
Insert a Lot Code
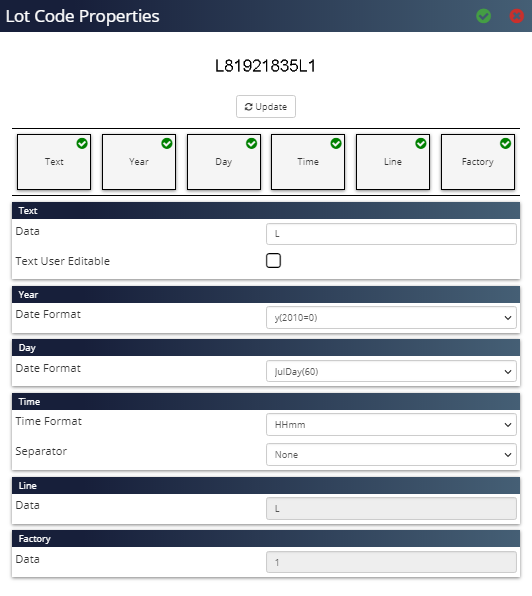
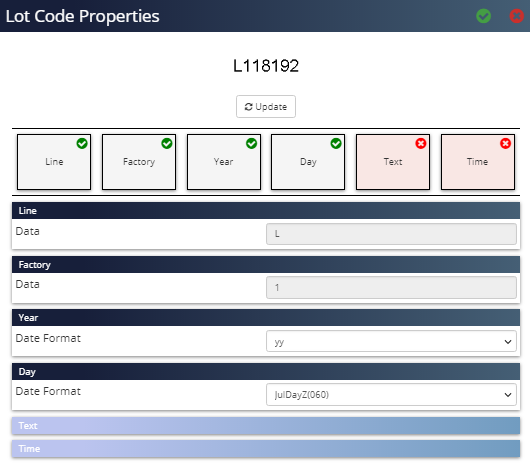
| 8. | Click + on the toolbar and select Lot Code tool in the toolbox. The Lot Code Properties window appears as follows: |
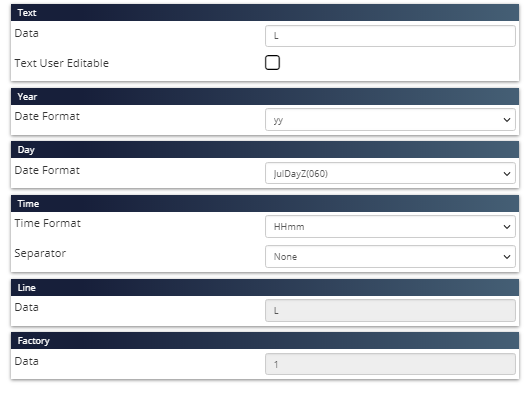
| 9. | To set the Line and Factory reference parameters, open the Account Settings tab under Settings. Leave the Line and Factory Data values default and set the other lot code elements as follows: |
Year: Select the Date Format ‘yy’
Day: Select the Date Format ‘JulDayZ(060)’
| 10. | Deselect those fields not required by clicking on the ✓. Those fields will turn red (the figure). Rearrange the required fields into the required order and click on Update to display the lot code for review. |
| 11. | Click ✓ when lot code confirmed. Enter a unique lot code field name ‘LotCode’ and click ✓ for the field to be added to the image design area. Drag the field below the text fields and set the font to 25 point. Now the image design area looks like: |

Aligning and Spacing Objects
| 13. | Click on the Horizontal Centre on the toolbar. This aligns the centre points of all three objects. Drag the objects up /down to ensure a unified 10mm gap between each object. The image will now look like: |
Save the Job
| 14. | Click Save to save the job to the application. Click Back on the toolbar to confirm that the job Basic Secondary with ITF is added to the job list under printer model Videojet 236x and variant 500. |
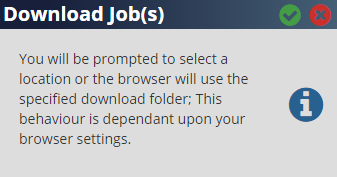
| 15. | Click Download on the toolbar to display the Download Jobs(s) window. Click ✓ to save the job to user-definable default working directory or standard Windows save window will open to select the required storage selection based on browser settings. |
Delete a Job File
| 1. | Select the job to be deleted from the Home page. Click Delete on the toolbar and Delete Template window appears: |
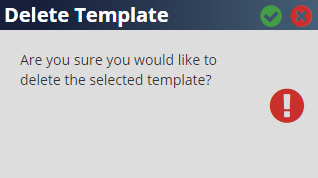
| 2. | Click ✓ to delete the selected template. After successful deletion of a job, the Success window appears: |